Mastering Perspective in Photography: Types and Top Tips
Every photographer sees the world differently — this is what makes their work special. Yet, a unique vision is not enough to create compelling pictures. If you want to take your photography to the next level, it’s essential to understand how to use different types of perspectives. It’s of the most versatile tools in a photographer’s arsenal that can help you turn your photos into works of art by adding depth, emotion, or movement to the simple scenes.
To help you create both visually stunning and emotionally impactful photos, we prepared a guide about what perspective in photography is and how to use it creatively. Read on to learn different types of perspectives and top tips for mastering them to create stunning images!
What is perspective in photography?
Perspective in photography refers to the visual connection between the elements in a photo. It involves the angle from which the image is taken, the composition of subjects within the frame, and the viewer’s position to all the elements in a photo. In short, it’s a way of presenting the photo’s subjects to the viewer.

Why is perspective important?
Understanding how perspective works can help you create more dynamic and visually engaging images that instantly capture the audience’s attention. It affects a viewer’s perception of the image and its subjects, influencing the size and scale of objects within the frame. By changing perspective, you can emphasize or de-emphasize certain elements, create a sense of depth, or evoke a specific emotion in the viewer.
Perspective is not only an effective way to make a photo more captivating but also an opportunity to challenge the way people see the world. With a skilled eye, one can show a unique view of the most commonly photographed subjects.
5 types of perspective in photography
1. Linear perspective.
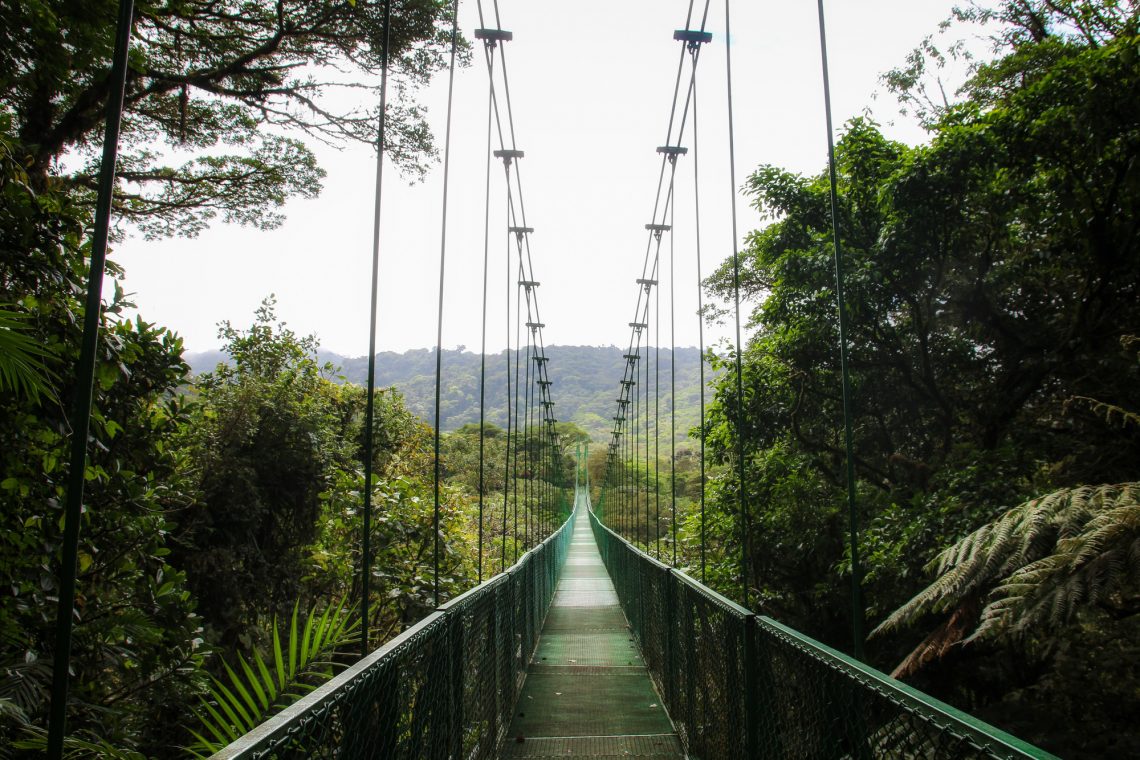
As one of the most straightforward types of perspective, it involves converging lines that create an illusion of depth and distance within a frame. You’ll only need a vanishing point and at least two parallel lines. This type of perspective is commonly used in architectural and street photography to give the impression of a three-dimensional image.

2. High-angle perspective.
With a high-angle perspective, your camera is positioned above the subject, looking down. This makes a subject appear small and powerless, creating a feeling of vulnerability or insignificance. It is also often used in aerial and landscape photography to emphasize the scale of the environment.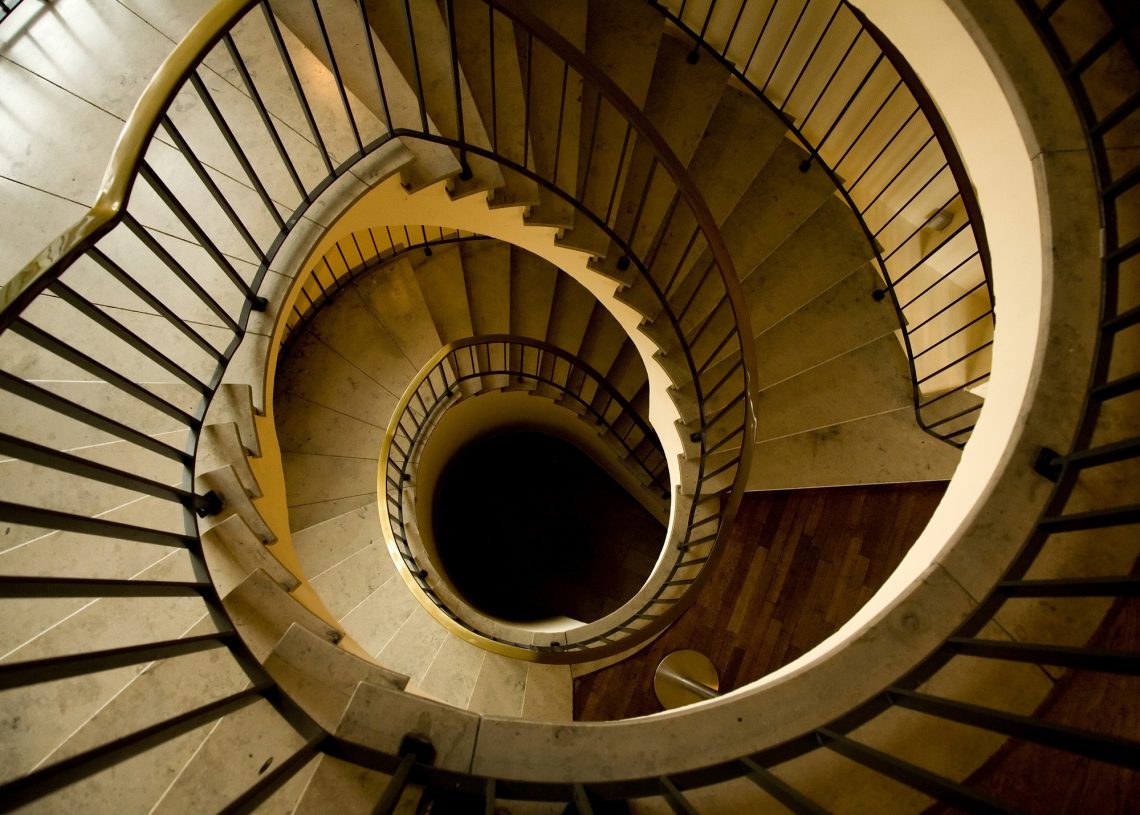
3. Low-angle perspective.
Low-angle perspective is when the camera is positioned below the subject, looking up. As it makes a subject look larger and more dominant, it creates a feeling of power or superiority. This type of perspective is commonly used in fashion photography to capture a sense of strength or authority.

4. Forced perspective.
This type of perspective involves manipulating the size and distance of objects to create a sense of scale and depth. Positioning objects in a way that makes them appear closer or farther away from the camera than they are can help you to add a unique twist to an otherwise ordinary scene. Most commonly, forced perspective is used in travel photography.

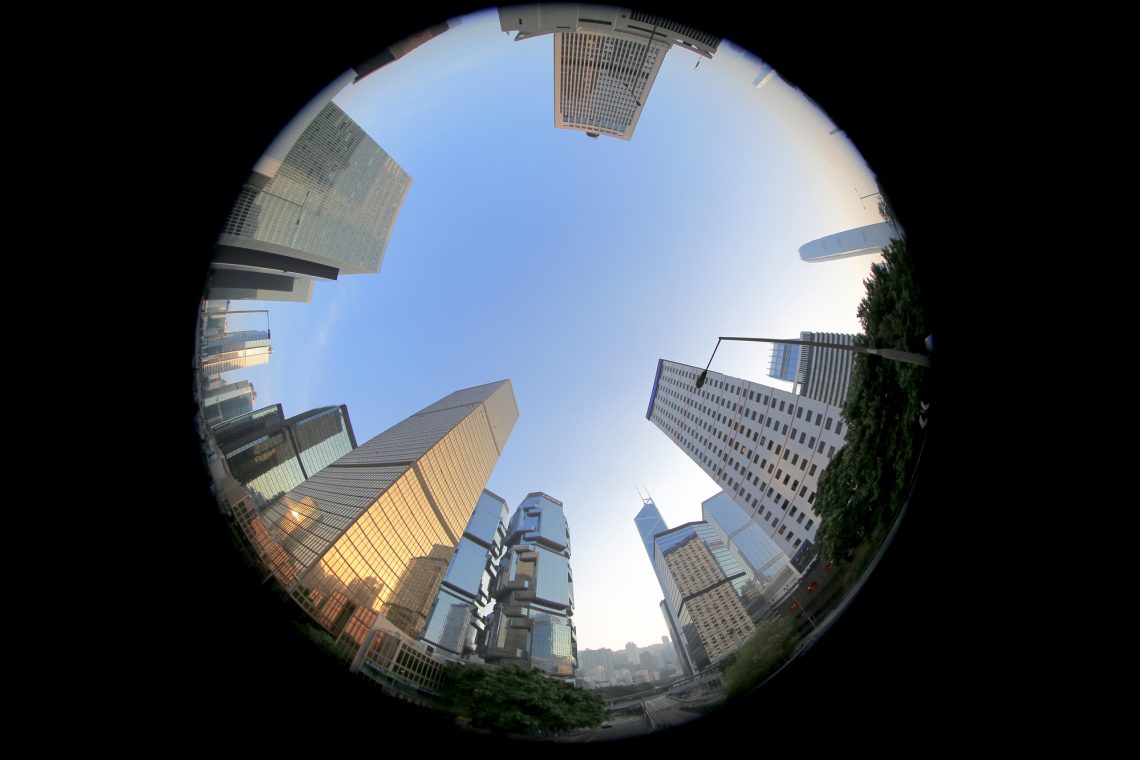
5. Fisheye perspective.
A fisheye lens can create a distorted perspective, adding visual interest and drama to an image. It can make objects appear bent or stretched, adding movement and energy to the photo. This type of perspective is often used in architectural and interior photography to create a unique and unconventional view of the environment.
How to use perspective in photography
1. Change your viewpoint.
Changing your viewpoint is about altering the angle from which you photograph your scene. Experiment with different viewpoints until you find the perspective that best captures the essence of your subject.
2. Use lines and shapes.
You can use lines and shapes to create a sense of movement and add depth to your photographs. Look for them in your surroundings, such as roads, buildings, or trees, and use them to guide the viewer’s eye through the image.

3. Play with focus.
By manipulating the focus, you can draw attention to specific aspects of your subject and divide your image into several layers. For example, a shallow depth of field can blur the background and make your subject stand out.
4. Experiment with light.
How light falls on your subject can completely change the perspective of your image. Look for interesting light sources, such as reflections or shadows, and try different lighting conditions to capture the mood of your surroundings.
5. Play with distance.
Adjusting your distance from the subject to capture more details of a subject or show it in its surroundings. Learn how to use the distance between the camera and the subject to convey different emotions, such as estrangement.

To wrap up
Whether you’re a professional or an enthusiast, understanding and using perspective can help you elevate your photography skills. It’s an essential aspect of photography that distinguishes a stunning photo from a mediocre shot. Remember, perspective is not just about capturing a scene from a different angle or distance. It’s about introducing your own vision of the world and telling a unique story through your photographs.
This simple guide is here to give you a better understanding of perspective in photography and how to use it to make compelling photos. Don’t be afraid to experiment and try something new — that’s how you can develop your own style.
Other article you might find interesting
Camera Shots Explained: The Ultimate Guide to 8 Most Common Types of Shots
Understanding Common Aspect Ratios for Images and Video
How to Protect Your Content from Theft on the Internet
An Ultimate List of 40 Photography Types to Learn and Master

